Mask Modifier


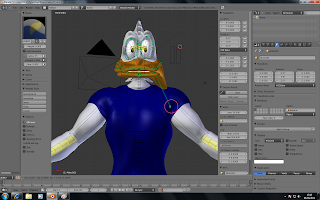
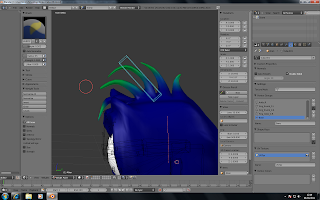
This is where I followed the mask modifier tutorial, to remove the mesh under the t-shirt so it would not come through the shirt. I also added a bone for the hair.
It took me a while to get the mask modifier right to remove as much mesh a possible without being able to tell, it took a lot of tries to get it spot on.
Notes:
- Main mesh edit mode.
- Select all vertices under the clothing.
- Make sure to have some fall of, in other words one line of vertices before the one you first think you should remove, because it deletes the mesh right up to that set of vertices.
- Turn your selection into it's own vertex group by going into the object data menu and pressing the plus/add button which adds new vertex group.
- Name it clothes, and assign.
- Go back to object mode now.
- Go to modifiers, choose mask and then choose vertex group clothes, it will remove all vertices except for the ones in the clothes group, so tick the inverse box.
- At this point I had to go through a weight painting process for the t-shirt because I had not done so yet, this took a lot of trial and error to figure out the best way of doing this.
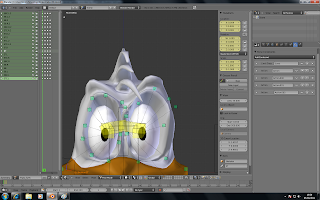
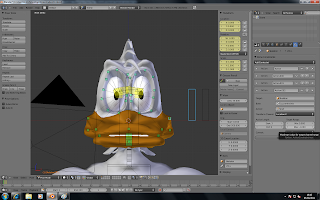
- I also tried to give the hand one overall hand controller like the face but it didn't work very well and was not really necessary either.
- The way I had designed my model looked good but was tricky when animating because the lats and the biceps would overlap and look poor in renders, lats should be effected when you lift an arm up but you don't want them to indent when you put the arm down, took a while to figure out the best way to weight paint that area.
- I also found out at this late stage that there is juts an option for each bone to turn deform off, this would have saved me a lot of weight painting.
No comments:
Post a Comment